When nesting all items to be cut they must be set in an Mass Ply billet of material that will have a length, width and thickness. A Billet is the unfinished, rectangular block of wood that is produced from our Mass Ply press. Finished parts and pieces are cut from this raw billet. When nesting parts into a raw billet, a CNC operator needs to pay attention to the limitations of each of the five axes of the spindle. Our machine type consists of X-axis, Y-Axis, A-Axis, C-Axis and Z-axis. The space allocation of parts and tooling must be followed for safe cutting, limiting the wear and tear on the machine. The easiest thing to forget when nesting is the space needed for another router bit or saw to complete a cut within the billet.
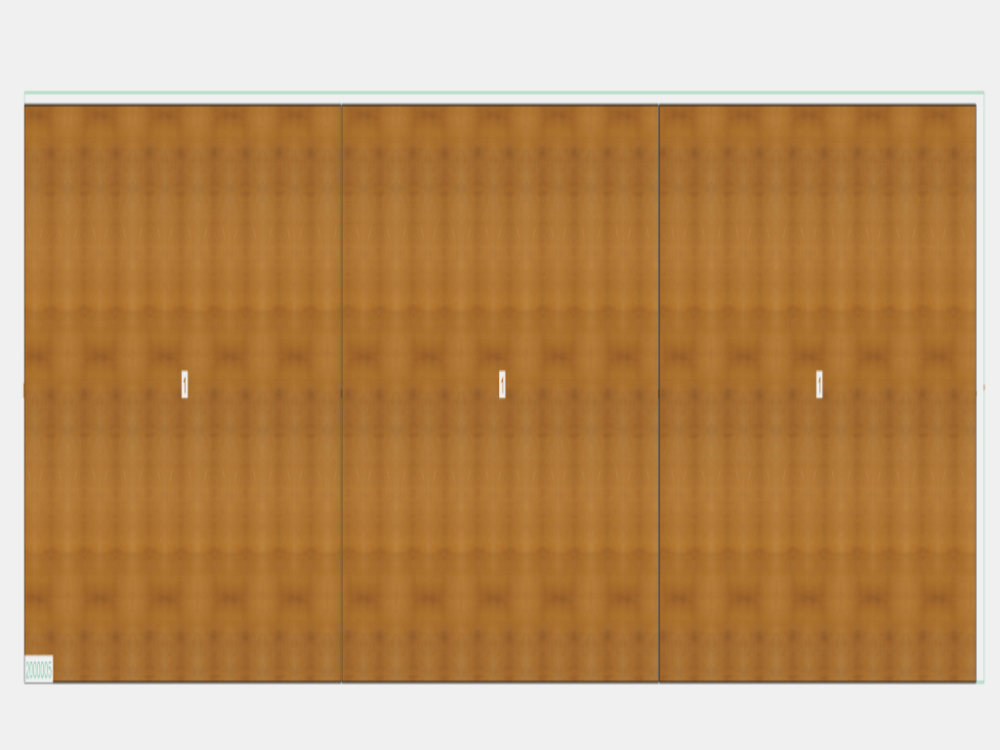
In the billet above, we have three parts coming from an Mass Ply billet. The billet size is eight foot wide and 41 ft., six inches long. The parts must be set apart in the longitudinal direction by .50 inch to allow the large saw to complete the cross cuts and separate the parts. Some may try a common line cut but that would leave one part the correct dimension and take the saw kerf from the other. Each geometry to be cut is seen by the software as a “closed geometry,” meaning that piece is understood to be a rectangle, not a series of cuts. Thus tool-pathing all four sides for a saw cut, even though cuts between two rectangles may seem redundant.
The parts that will be cut from this Mass Ply billet should be lined up to match lengths and width for the saw to make one fluid pass down and back to cut the longitudinal cuts. This also helps with the programming process of the parts. The same will be true for the cross cuts to be in a line based on the length of the panels. The saw will then make a pass on the front of the parts and back of each part to separate them from the billet. The gap tolerance needed to complete the 45-degree angle cuts on the sides of the part is three inches apart in X axis and Y axis so that there will not be any collisions of the tool pathing.

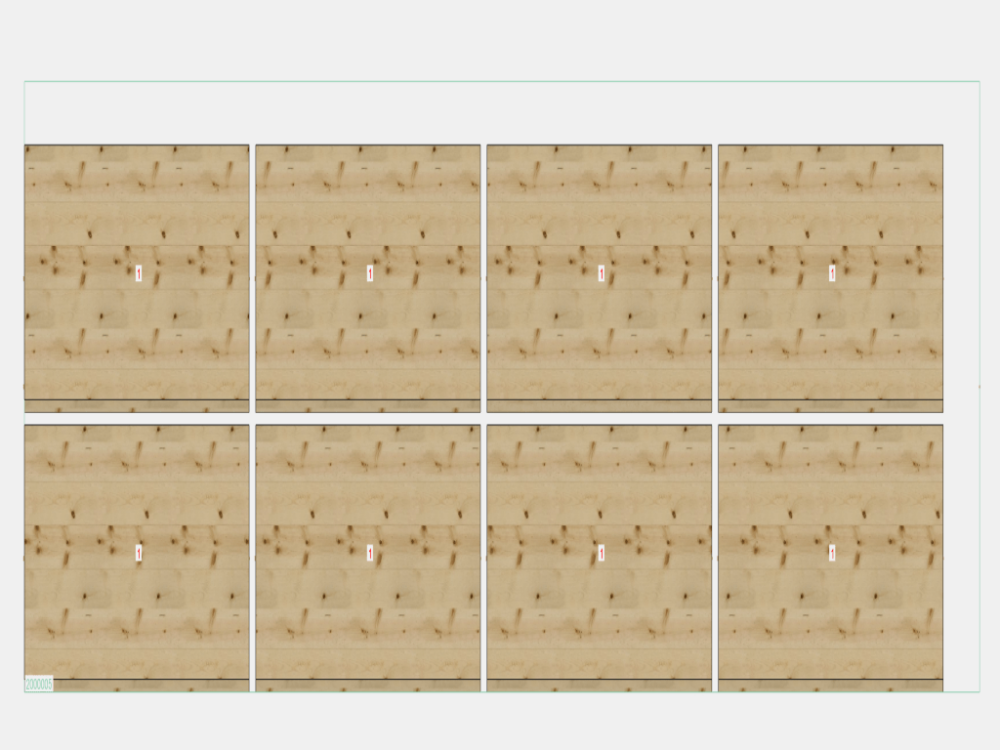
Example 3
The billet has four parts that are all geometries that the saw cannot cut. In this case, we must use the router bit to cut all the geometry. We will need to leave an open kerf area of three inches around each part so that the tool paths will not cause a collision area. The three-inch kerf is to accommodate the 1.5-inch diameter tool to safely contour cut on the outside of the geometry. In some cases, you will need to factor in a skeleton to be left within the billet to make sure that drop pieces will not fall into the gaps of the table and pose a collision with the tooling.
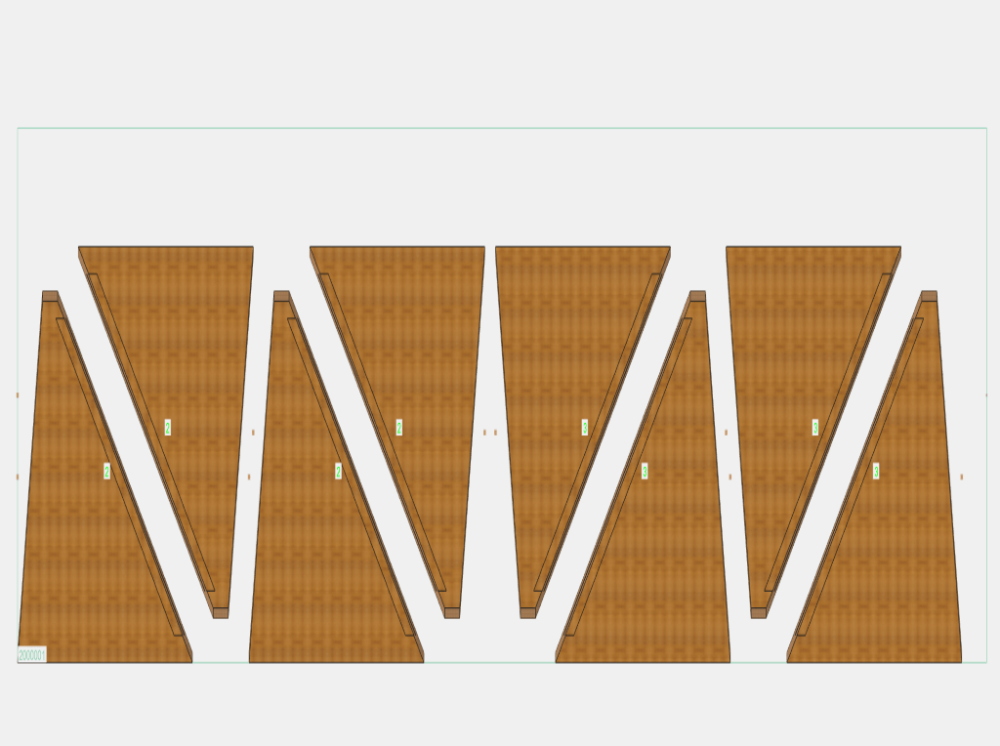
Example 4
Pictured above are parts that were cut as a rooftop. They were routed with a spline joint cut on the roof to join the pieces together. With their shapes they had to be positioned at a 10-inch gap apart so that the small saw cut made the cuts at the top of the pieces to separate them from the billet and not have a collision with the parts next to them within the nest. To decrease the saw cut time it is best to line the parts up longitudinally, so that you are making one length cut down the panel. Instead of making one cut then lifting before moving to the next cut.
Though cutting the pieces in examples three and four can be challenging, the larger issue is the off-loading of the cut pieces from the Mass Ply billet. This takes some time to systematically extract the finished parts and dissect the drop. Often the largest time consumption of the cutting process is the cleaning of the table after the files are complete. In example three, you can use the simple cinch technique to grab the part in two locations along the part and remove the piece from the table. In example four, we used a three-point picking technique with three lifting straps, one on each point of the part.
Subscribe
We’ll send you a notification when a new story has been posted. It’s the easiest way to stay in the know.